First days with a new software that is meant to become a part of your everyday life can be really scary. There are so many options to choose from, settings to change, things to click. Sometimes, if you acquire some bad habits from the start, changing the way you work in the future will be incredibly difficult. There are many users that find out about a feature years after they’ve started working with the software. A feature that usually could save them hours, if not days of their work.
That is why we want to show you, in a very easy way, how to start working with Jira and make your project management much, much easier. We are going take you step by step with everything you have to do to create your first project, but remember, you are never alone with this. If you ever stuck at some point, Atlassian support can help you in various ways. Search documentation or ask someone in the community. Here is the link to a
Having this out of the way, it is time to start creating your first project!
Create your first project
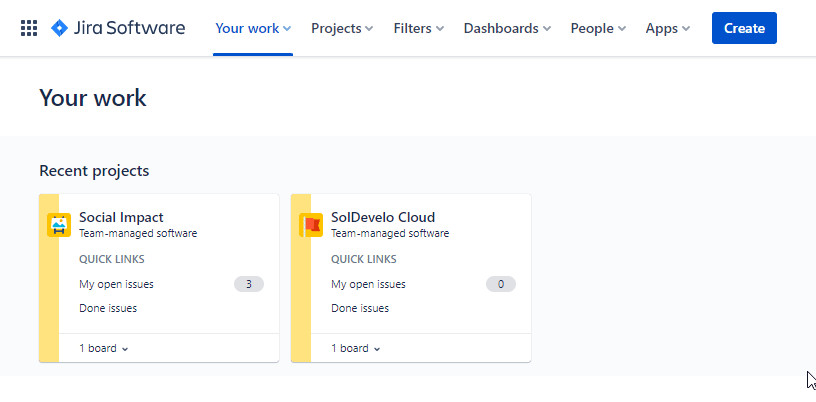
To create a new project in Jira, you need to find the “Projects” button in the upper menu. Once you click it, the list of your recent project will show. At the bottom of the dropdown menu you will find the “Create project” button.
The next step is to choose a template that you want to use in your new project:
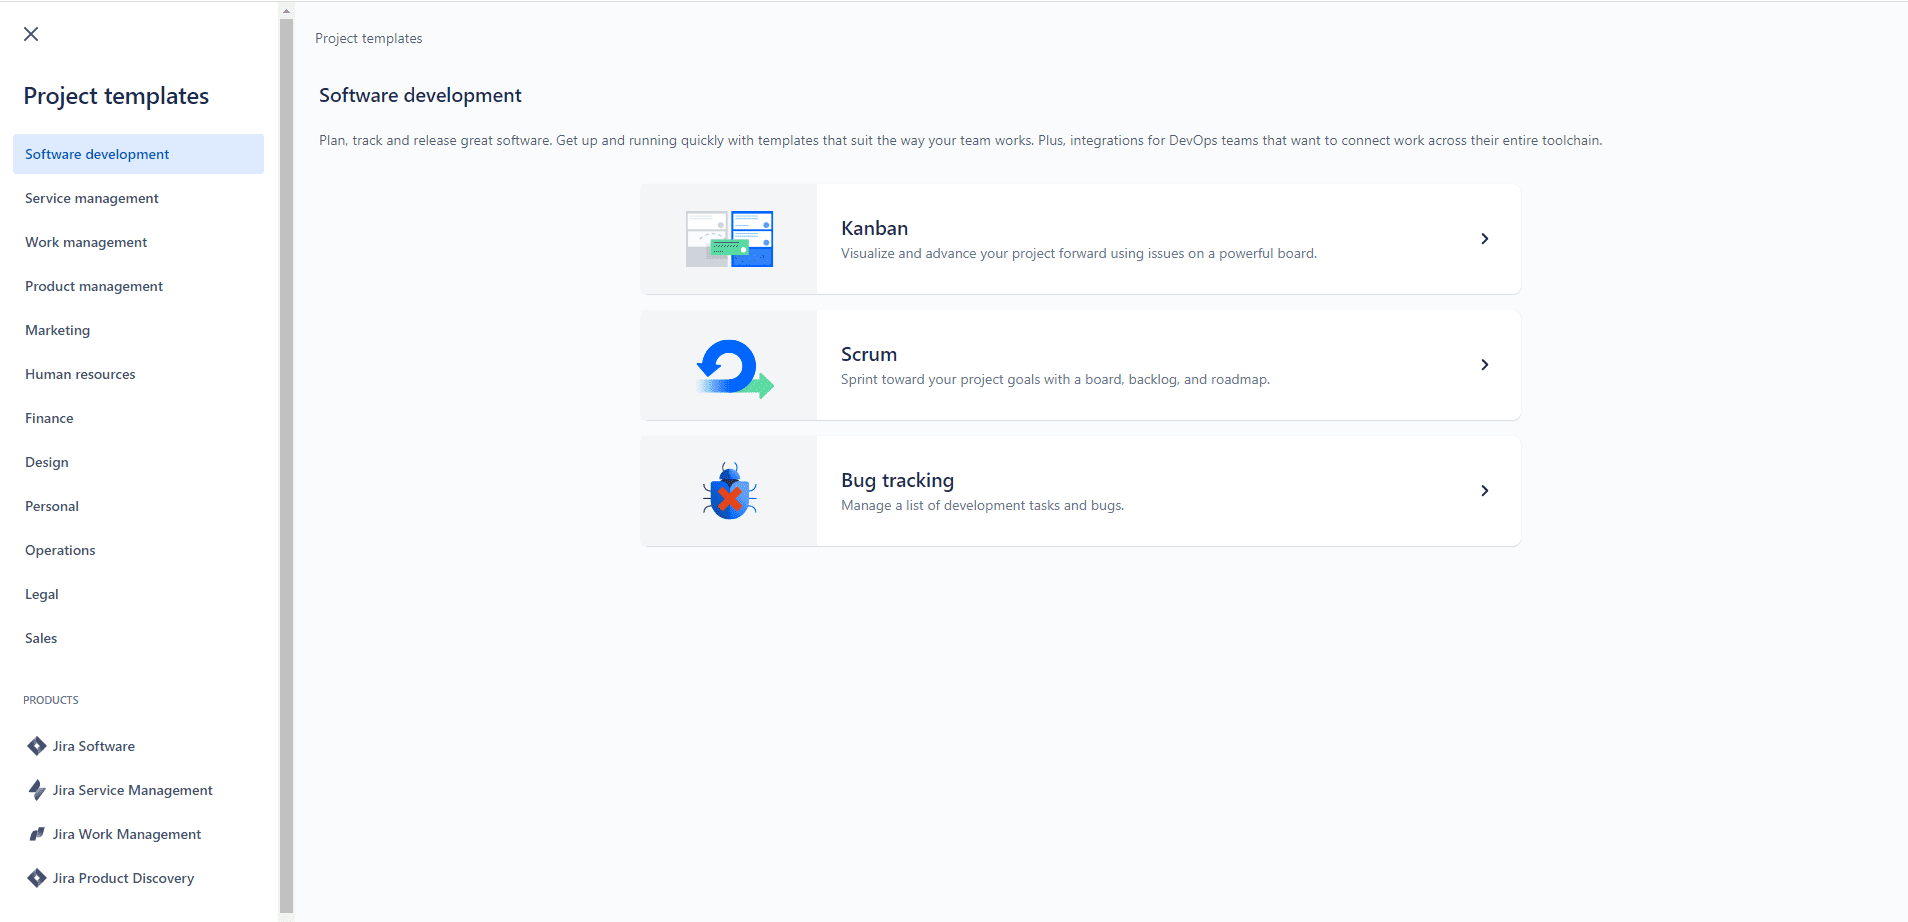
Depending on the type of your project, you can choose from different sets of templates. Browse through your options using the menu visible on the left. In order to help you choose the best solution for your work, Jira provides you with helpful explanations of the functionalities and purposes of each template. To learn more about a particular template, just click it.

Once you’ve decided on a template, you’ll have to choose a project type. There are two types available: team-managed and company-managed. For now, choose the team-managed option.
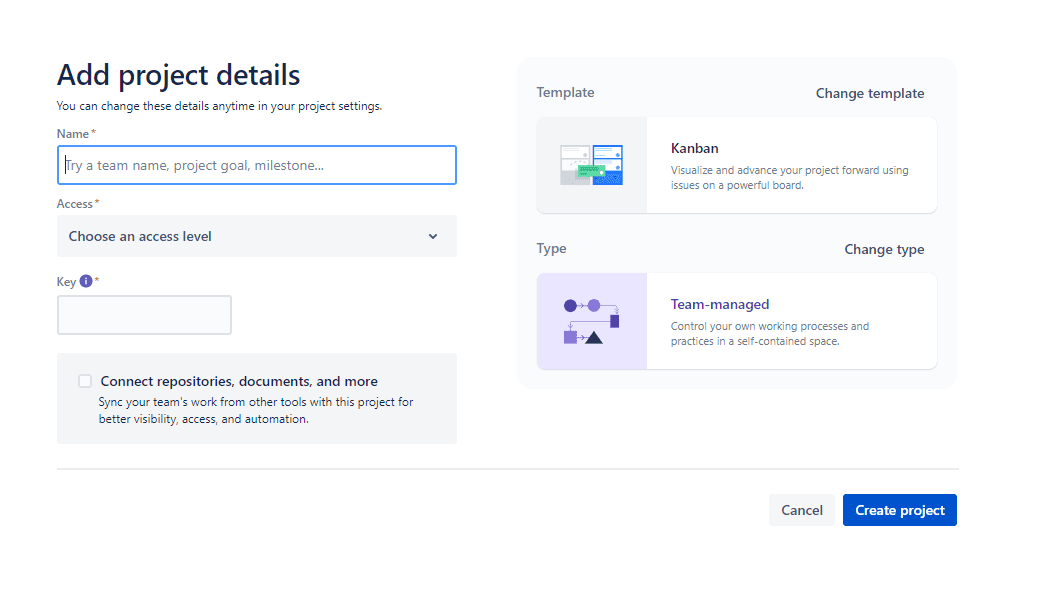
Now is the time to add some project details. First enter the name of your project. After that choose who will get access to your project (in other words, who do you want to collaborate on this task). You have three options: private, limited and open.
In the advanced options you can also change the name of the key for the project – prefixes for
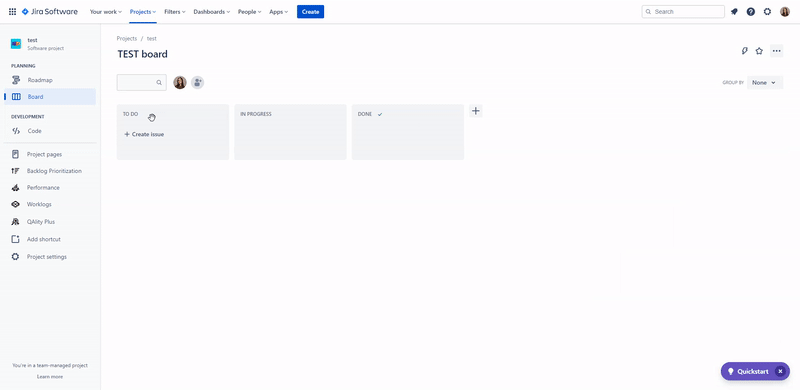
Board for your tasks
How it is going to look like? Probably something like this (we chose the kanban template):
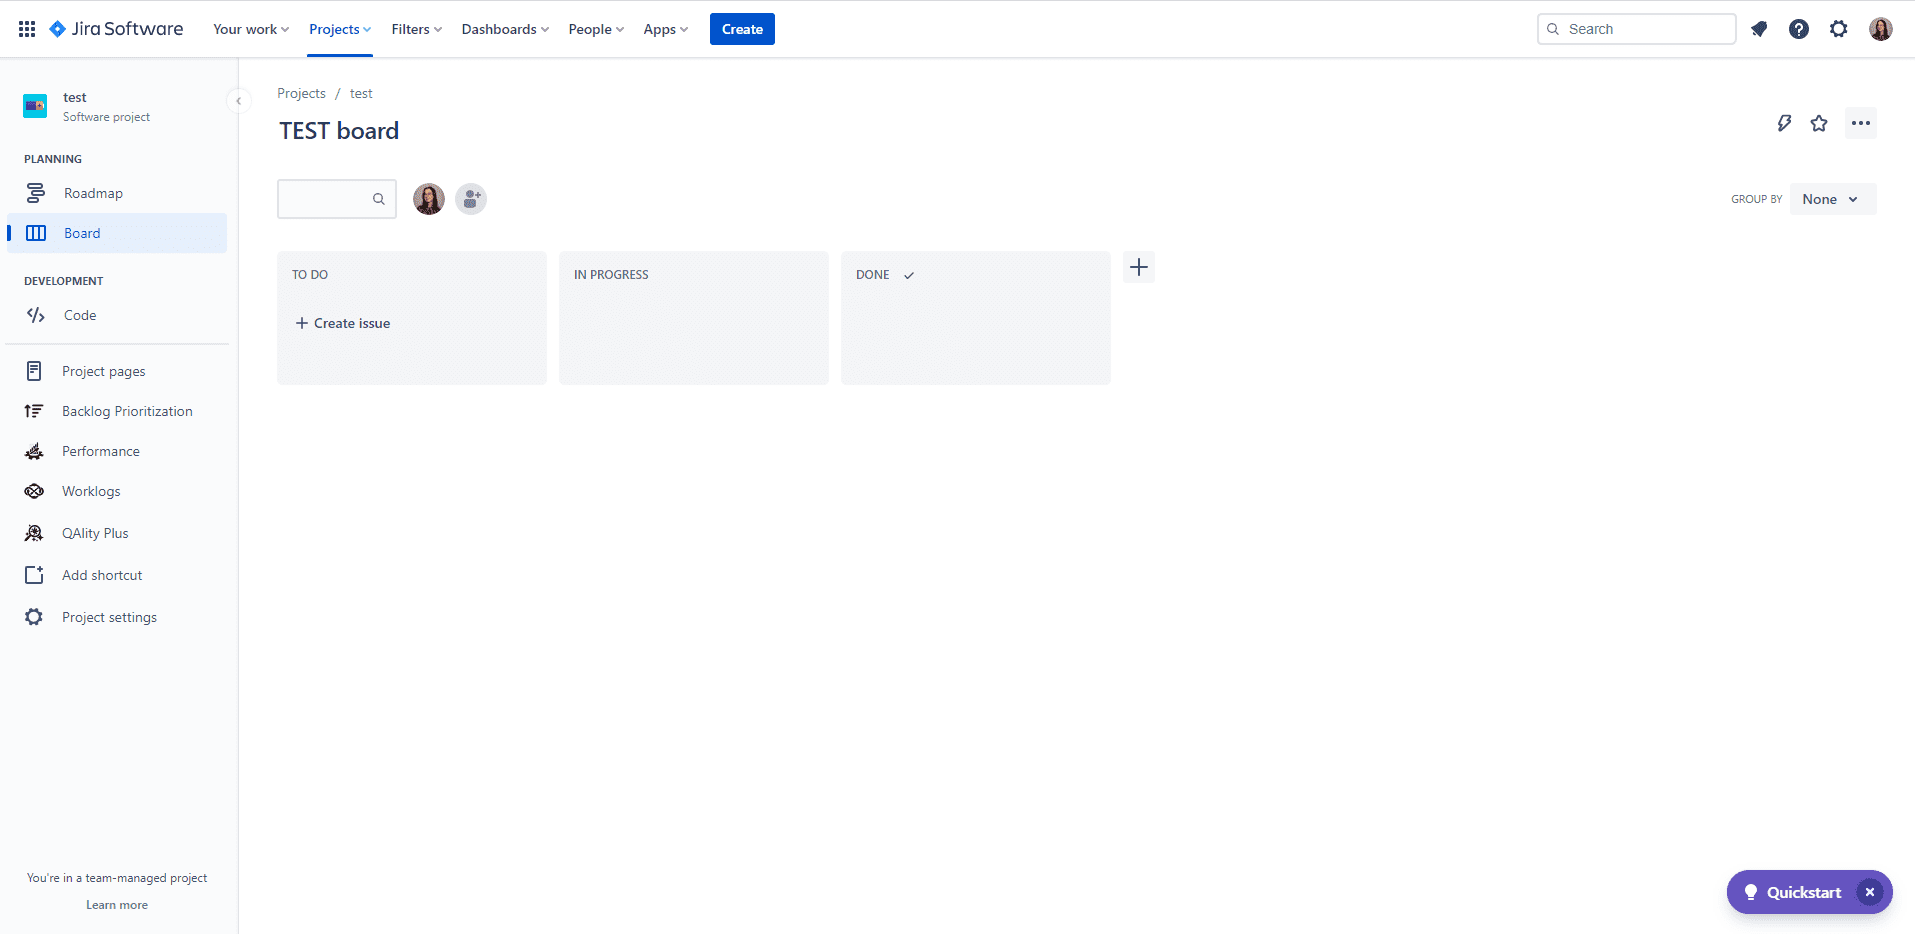
It is pretty empty for now, but soon this is going to change. Jira allows to freely create
Most probably you don’t want to work alone on this project. So let’s add some people! On the right of the search bar, you can see the icons of people, who are assigned to this project. At the start, there is going to be just one picture – yours. To change this, click the icon right next to your picture. Now you can add anyone you want. People from your organization who are registered in your Jira Server will be listed alphabetically. Just search for anyone who should be involved in this particular project.
Let’s create some tasks!
Now, you probably want to create your first issue for this project. Click the plus sign on the “To Do” Board. Name your task and click “enter” to add it. After the task is created, you can click on it, in order to add some details.
Describe the issue
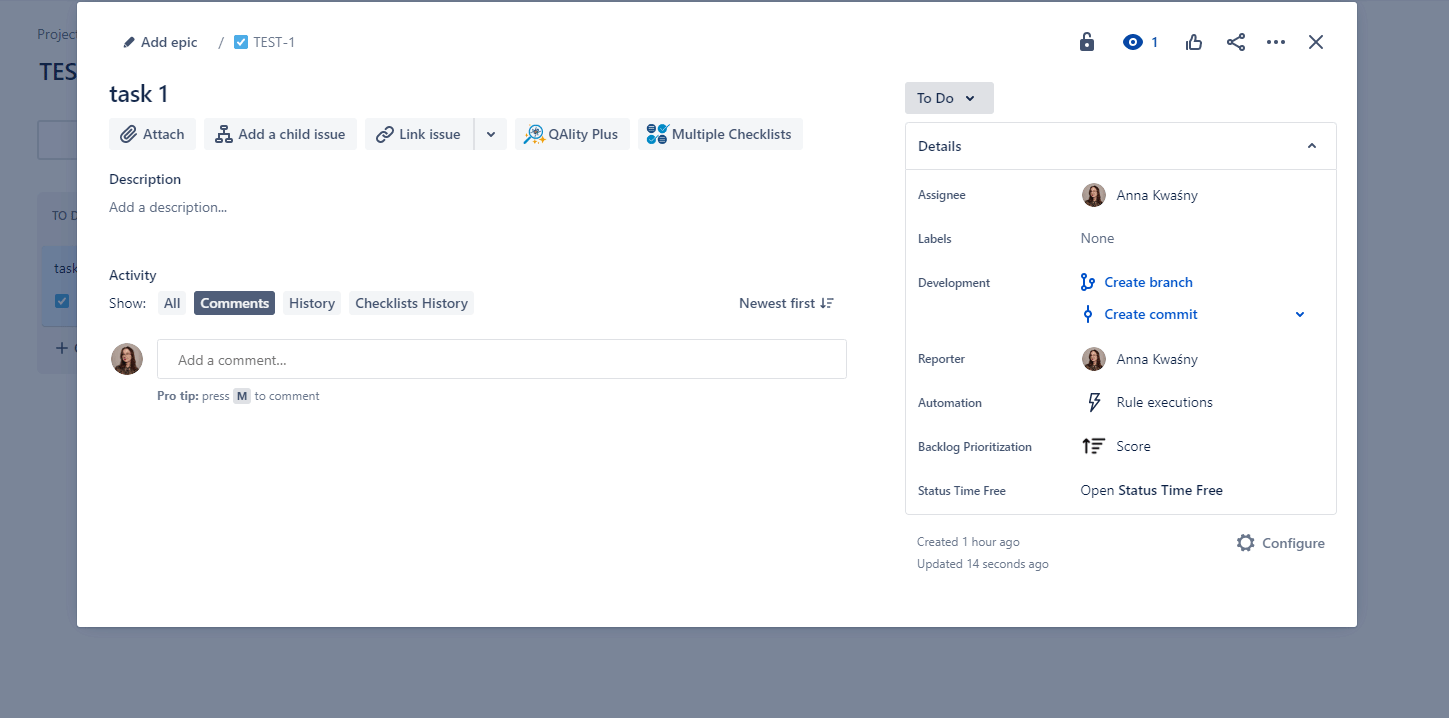
The best practice is to write down (no surprise here) a short summary of your task, so that everyone who looks at it will know right away what has to be done. Below you can attach all the files that you think are needed for this task. Some information from an old Excel file? Add it right here. Pictures from the old event? Make life easier for people in your team and attach them.
In the description you can write down every detail that has to be done for this issue. But it doesn’t have to be just plain old text. Jira can use emoticons, lists or tables. If any particular person can help with completing this task – you can tag them here, by using “@” symbol.
Below you can see one of the most important options for issues – assignment. Choose the person who will be responsible for this task. Thanks to this, they will see it right away, on their Jira board.
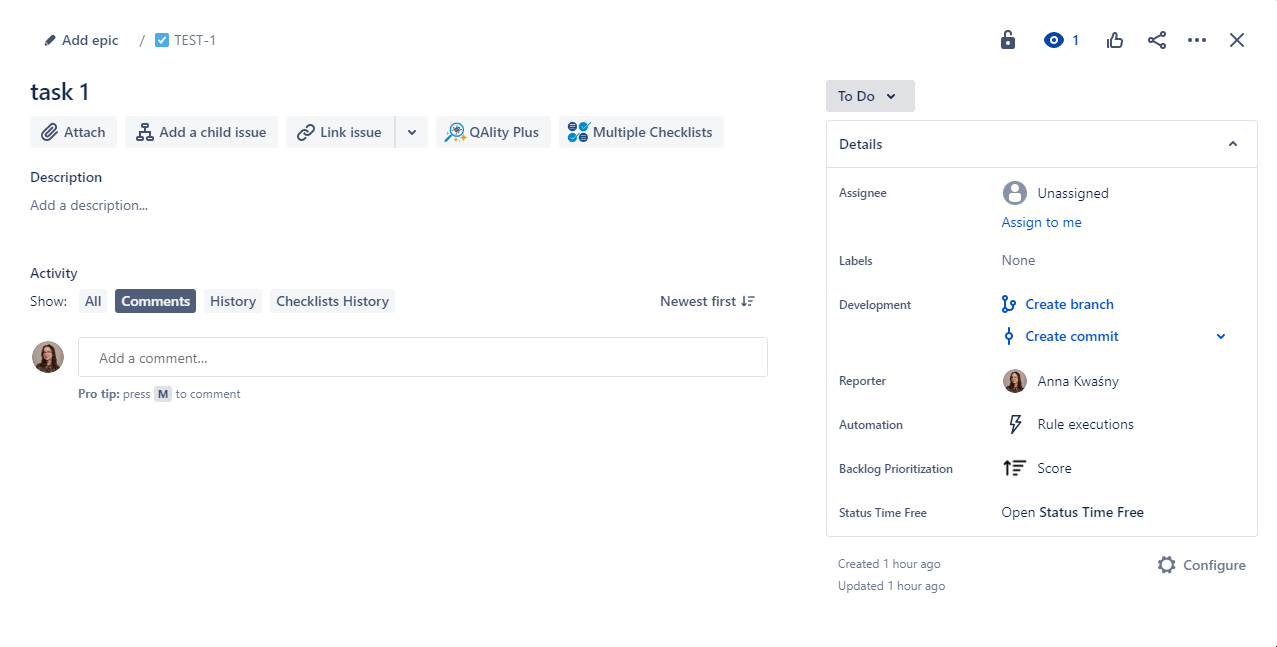
If any other issue is relevant to this task, you can connect it here. Thanks to this, you will be able to see the bigger picture. You can either link issues or add child issues, depending on your needs.
You can also flag this issue. In projects with many tasks this is the great tool to see what is the biggest problem right now and where
Label your work
You can also add labels to this issue. Once again, this tool is great for bigger projects. Thanks to labelling, you can divide tasks
The task that you’ve created now appears on your Jira board.
See the progress of your work
As you can see, your tasks are divided into different columns. Why are they needed? To see the progress of each one. This makes managing the progress of task incredibly easy and intuitive. If you are starting the work on an issue from the “To-Do” list – just move it to the “In Progress” section. When you finish it, just move it again one column further to the “Done” group.
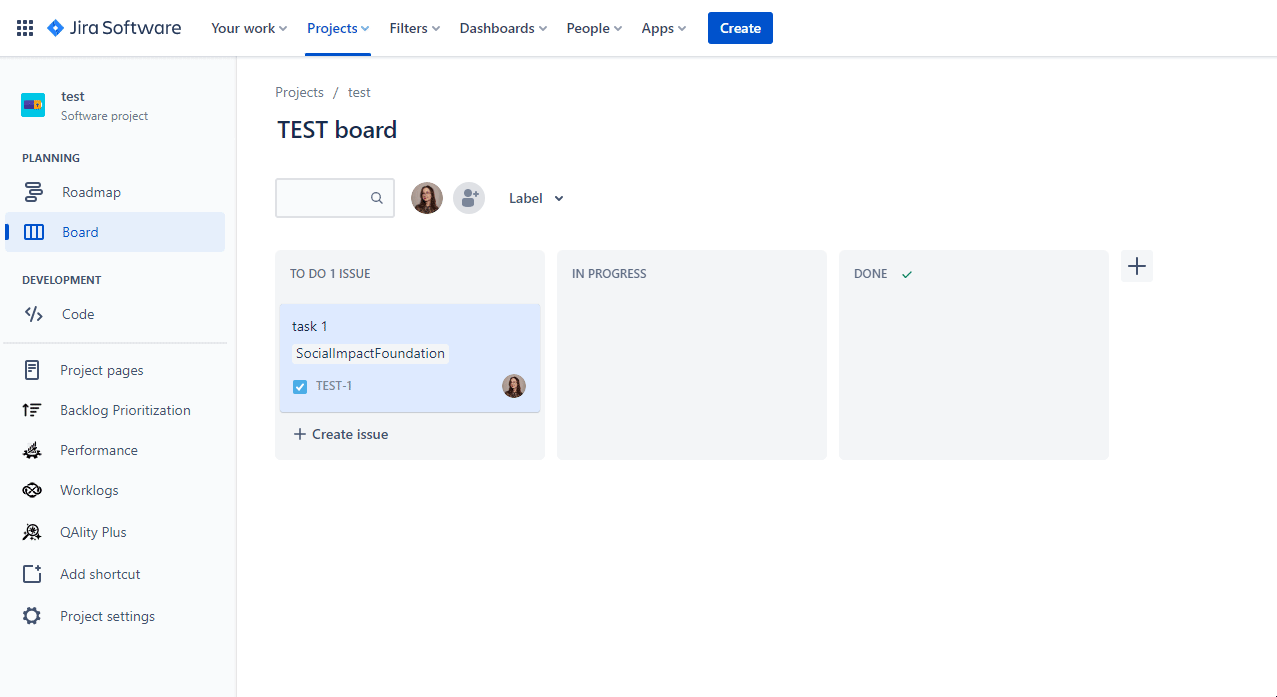
These three columns are the standard, but if your project is more complicated you can always add more. For example, if some issues are going to be reviewed after completion, creating a “To be reviewed” section would be a good idea.
And this is it for first steps in Jira. With every day of work and project management, you are going to know this system better and better. Hope it will help you be as efficient as it is possible!
We hope this tutorial was helpful! If you want to know more about Atlassian products, check out our other articles.
Read more!
Holding Up The Sky: A Beginner’s Guide To Atlassian
Atlassian Guide: The Best Of Best Jira Plugins
Remote Teams: How Can Atlassian Products Help?
Most Helpful Atlassian Tools For Non-Profit Organizations